Kitchen Cabinet Refresh Without Replacing Them
New kitchen cabinets start around $5,000 for even a modest kitchen — and that's before installation. But here's the open secret of budget renovators: if your cabinet boxes are solid and the doors are in decent shape, you don't need new cabinets. You need paint, patience, and new hardware.
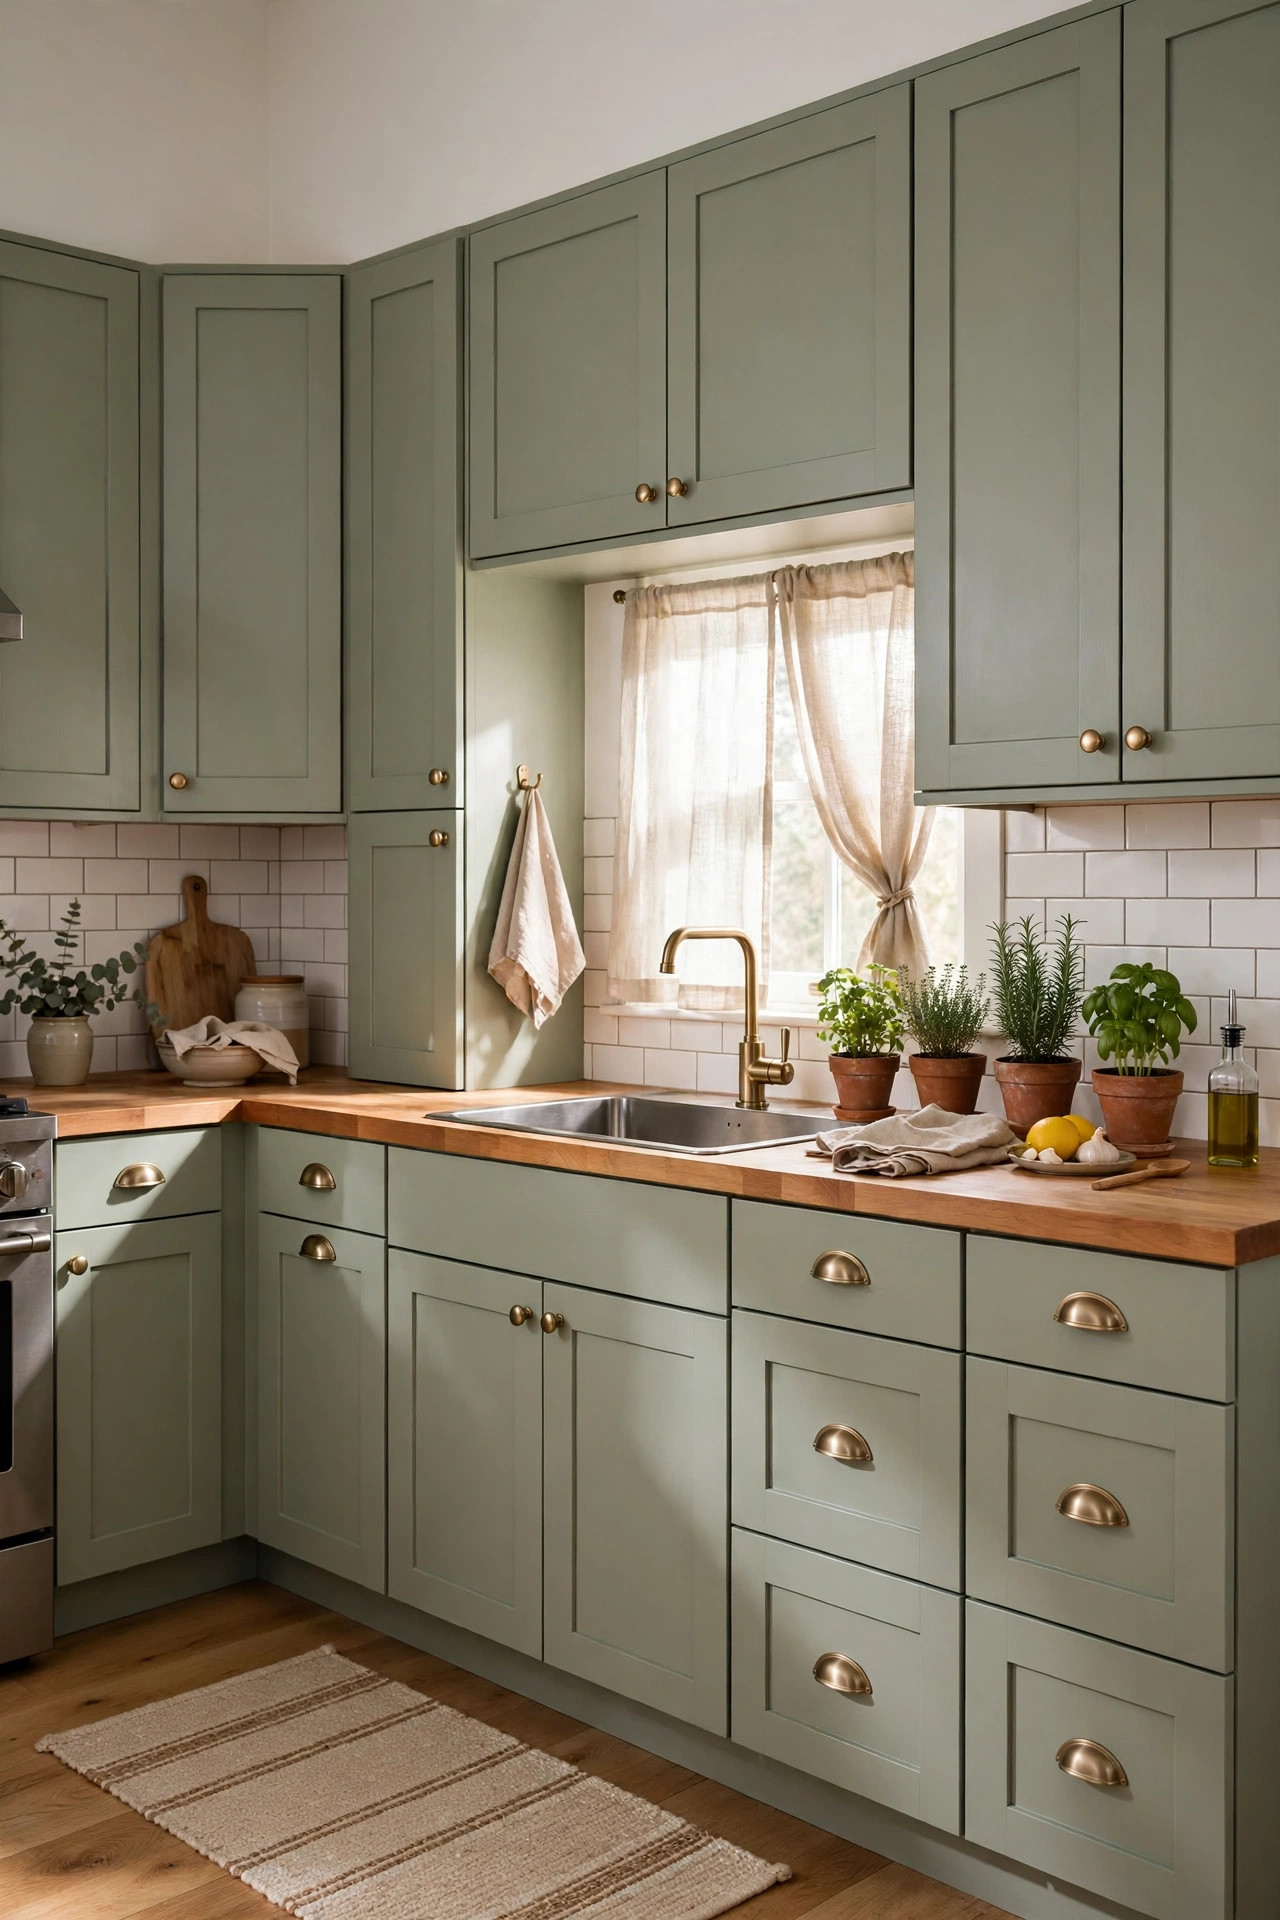
This refresh took four days (mostly drying time) and $142. The cabinets went from dated golden oak to soft sage green with brass cup pulls, and the kitchen genuinely looks like it was remodeled. The process is 80% preparation and 20% painting — get the prep right and the paint practically applies itself.
Materials You'll Need
- 1 gallon cabinet/enamel paint, sage green — $55
- 1 quart bonding primer — $16
- Degreasing cleaner (TSP substitute) — $8
- Brass cup pulls + knobs (18 pieces, bulk pack) — $38
- High-density foam mini rollers (6-pack) + angled brush — $12
- 220-grit sanding sponges (3-pack), painter's tape — $8
- Drop cloths, labeled bags for hardware — $5
Step-by-Step Instructions
- Remove doors, drawers, and all hardware. Number every door on painter's tape stuck inside the hinge area (e.g., "U3" for upper cabinet 3). Bag each door's screws with its label — you'll thank yourself at reassembly.
- Degrease everything twice. Kitchen cabinets collect years of cooking grease. Scrub all surfaces with TSP substitute, rinse, and let dry. Paint will not stick to grease, no matter what the can promises.
- Scuff-sand all surfaces. You don't need to strip to bare wood — just dull the existing finish with 220-grit so the primer has something to grip. Wipe away dust with a damp cloth.
- Prime with bonding primer. One thin, even coat on every surface. Bonding primer is the difference between paint that lasts a decade and paint that chips the first time a pot bangs a door.
- Paint two thin coats of enamel. Use foam rollers on flat areas and an angled brush for edges and details. Thin coats dry harder and smoother than one thick coat. Let each coat dry fully — usually 4 to 6 hours.
- Install the new hardware. Cup pulls and knobs go on after the final coat has cured at least 24 hours. Use a simple cardboard template so every handle lands in the same spot.
- Rehang and admire. Reattach doors using your labels, adjust hinges so gaps are even, and step back. Leave the paint to fully harden for a week before heavy use.
Budget Breakdown
| Item | Cost |
|---|---|
| Cabinet enamel paint (gallon) | $55 |
| Bonding primer (quart) | $16 |
| Degreaser | $8 |
| Brass hardware (18 pcs) | $38 |
| Rollers + brush | $12 |
| Sanding sponges + tape | $8 |
| Drop cloths + bags | $5 |
| Total | $142 |
Before & After
Before: twenty-year-old golden oak cabinets with black plastic knobs, darkening a north-facing kitchen. The wood was fine — solid, square, functional — but the finish screamed 2004 and absorbed every bit of light the room had.
After: soft sage green with warm brass cup pulls against white walls. The kitchen feels larger, calmer, and honestly custom — visitors assume it was a full remodel. The butcher-block counters I already had suddenly look intentional instead of tired, because the cabinets finally give them something to play off.
The hardware deserves special mention: it was nearly a third of the budget and worth every cent. Paint changes the color; hardware changes the perceived quality. Cheap plastic knobs make even perfect paint look DIY in the bad way.
Tips for Painting Cabinets That Last
- Degreasing is non-negotiable. Most cabinet paint failures trace back to grease under the primer, especially near the stove.
- Thin coats, always. Two thin coats of enamel outlast one thick coat by years — thick paint stays soft and dents easily.
- Buy a gallon, not quarts. A medium kitchen needs close to a gallon for two coats; quarts cost more per ounce and you'll run out mid-door.
- Spray vs. brush: brushing with foam rollers gives excellent results for beginners. Renting a sprayer is faster but the learning curve (and masking) eats the savings.
- Wait the full cure time. Enamel feels dry in hours but takes up to 30 days to fully harden. Be gentle with doors for the first couple of weeks.
Frequently Asked Questions
- Do I really need to sand before priming?
- For kitchen cabinets, yes — a light scuff-sand. Bonding primer is excellent, but it still needs a dulled surface to grip. The exception is if you're using a primer specifically labeled "no sand," and even then, sanding near handles and high-touch areas is smart insurance.
- What paint finish is best for cabinets?
- Satin or semi-gloss enamel. Flat and eggshell show every fingerprint and are harder to wipe clean; high-gloss shows every brush mark. Satin is the sweet spot for most kitchens.
- How long does a painted cabinet finish last?
- With proper degreasing, bonding primer, and enamel paint, 7–10 years of normal use is realistic. Touch up chips promptly with a small artist's brush and leftover paint to keep them invisible.